CTG Week 7: June 15th to June 21st – Sweet Potatoes & Squash

Activities:

  • Planting Squash
  • Planting Sweet Potatoes
Baby Birdies
Baby Birdies

From finding baby birds to harvesting strawberries, this week’s class was full of adventures.  First on the list was learning how to plant squash or the Cucurbitaceae family.  With numerous varieties and a truly delectable taste squash makes for a popular garden favorite.  The beautiful thing about squash is it is easy to plant and most varieties tend to be very prolific.  Every gardener has harvested a zucchini that is to big even for the most aggressive loaf of zucchini bread.
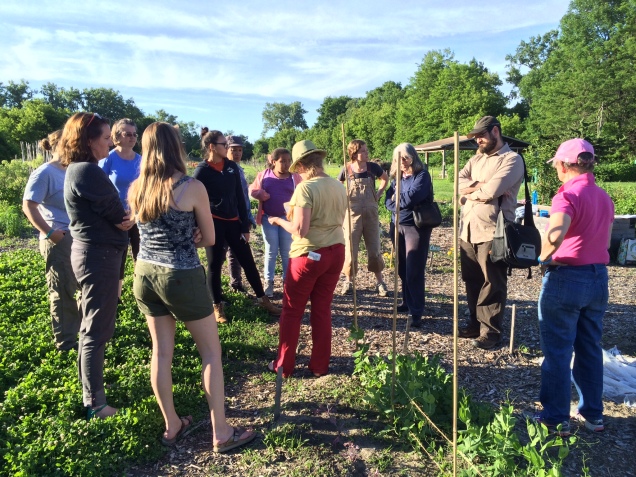
Learning form the Master

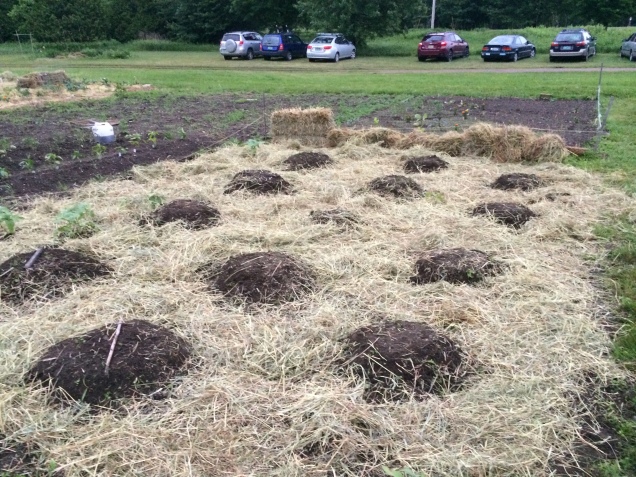
Traditionally squash is planted in mounds.  The mound should be about three inches high and about eighteen inches in diameter.  Some gardeners find it helpful to dig a little trench around the mound to act as a moat so that the plant’s roots have enough access to water vs. allowing the water to simply run off the mound without any benefit to the plant.

Once the mounds are constructed it is time to plant the seeds.  Between three and five seeds should be planted in each mound and the mounds should be spaced according to the specifications on your seed packet. For most squash the distance should be four to six feet.  Remember, squash plants tend to get very large especially if they are the vine and not the bush variety. Spacing your squash plants appropriately will help decrease the prevalence of mildew diseases that squash are particularly susceptible to.

Cultivating for Sweet Potatoes

After planting the squash, we all got sweet on some sweet potatoes. To plant sweet potatoes you need to construct berms for the slips. The berms are little hills that provide warm, loose soil for the sweet potatoes. Sweet potatoes are not started from seed potatoes but from “slips.”  Sweet potato slips are sprouts that are grown from mature sweet potatoes. Each potato can produce up to fifty slips that are each planted individually.  The slips should be planted in berms spaced about three feet apart. The slips should have about a foot between each one to allow for enough room for the vines to grow.

To plant the slips, dig a hole about 4″ or 5″ deep and 3″ wide. Place one slip in each hole with the roots pointing down. Position the slip so that the bottom half will be covered with dirt while the top half with all of the new leaves is above ground.

Garden Fresh Strawberries

To close out class we all munched on some fresh strawberries.  The yummy taste had us all looking forward to the upcoming harvest of many of the other fruits and vegetables that are growing in the Teaching Gardens.

Coming up this week:

Community Teaching Garden Potluck: 6:30pm Thursday, June 25 at Ethan Allen Homestead. Bring a dish to share and your own plate and silverware. All welcome!

CTG Week 6: June 8th to June 14th – Planting a Three Sisters Garden

Activities:

  • Planting Leeks
  • Three Sisters Garden
  • Trellising Peas
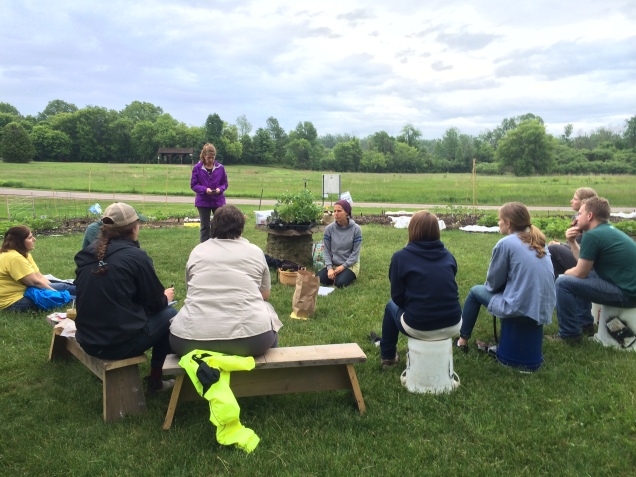
Welcome to our Garden

According to Iroquois legend, corn, beans, and squash are three inseparable sisters who only grow and thrive together. This tradition of interplanting corn, beans and squash in the same mounds, widespread among Native American farming societies, is a sophisticated, sustainable system that provided long-term soil fertility and a healthy diet to generations.

Learning the History of Three Sisters Gardens from Carolina

The amazing thing about a three sisters garden is that all the plants complement each other.  Corn provides a natural pole for bean vines to climb. Beans fix nitrogen on their roots, improving the overall fertility of the plot by providing nitrogen to the following years corn. Bean vines also help stabilize the corn plants, making them less vulnerable to blowing over in the wind. Shallow-rooted squash vines become a living mulch, shading emerging weeds and preventing soil moisture from evaporating, thereby improving the overall crops chances of survival in dry years. Spiny squash plants also help discourage predators from approaching the corn and beans. The large amount of crop residue from this planting combination can be incorporated back into the soil at the end of the season, to build up the organic matter and improve its structure.

A Beautifully Mounded Three Sisters Garden

For detailed instructions on how to plant a three sisters garden visit the following link.

http://blogs.cornell.edu/garden/get-activities/signature-projects/the-three-sisters-exploring-an-iroquois-garden/how-to-plant-the-three-sisters/

Baby Leek Plants
Baby Leek Plants

The second task we accomplished this week was planting leeks.  Conveniently we planted the leeks in the garden bed neighboring the potatoes, I guess we must have had potato leek soup on the brain.  There are a few ways to plant leeks.  Some gardeners like to plant them and mound soil around the base every two weeks so that the leek develops that delicious milky white stalk.  Our class chose a slightly different method we dug a trench that was roughly six inches deep and planted the leek plants about four to six inches apart.  The trench will allow us to add soil to the leeks as they grow until eventually we fill the trench providing the plants with enough soil around them to produce the stalk.

Planting Leeks
Planting Leeks

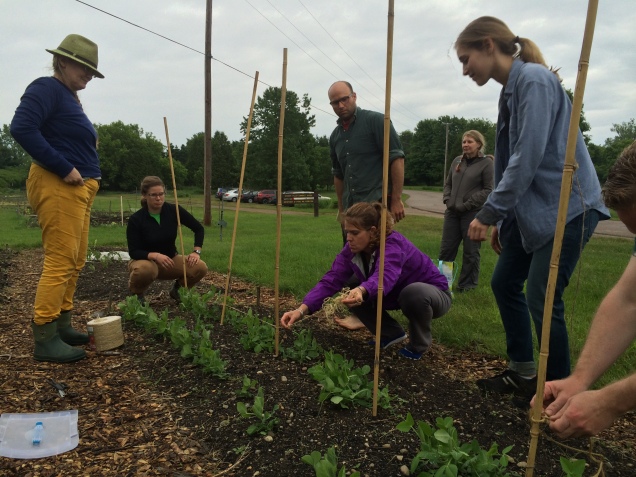
After the leeks were in the ground some love for the peas was in order.  It was time to provide a trellis.  Depending on the variety of pea you plant it may be necessary to give the vine a place to grow.  This is where a trellis comes in handy.  The trellis provides a vertical structure for the pea vines to climb and grow onto.  Growing up rather then out saves space.  We used bamboo sticks and twine to crate a fence like structure.

Trellising the Peas
Trellising the Peas

As the pea plant grows you simply add another layer of twine to the bamboo to give the peas more vertical space.  As we nurtured the garden we all enjoyed how far the space had come in such a short period of time.  As each plant grows so do we as gardeners and that is a pretty awesome feeling.

CTG Week 5: June 1st to June 7th – Planting Brassicaceaes & Nightshades

Activities:

  • Planting Brassicaceaes
  • Planting nightshades
  • Controlling cutworms with cutworm collars
Plant Starts

This week was a planting adventure.  The two plant families we focused on in class were the Brassicaceae family and the Solanaceae family, commonly referred to as nightshades.  Both of theses families produce many of the common garden favorites we all love.  Some of the more popular members of the Brassicaceae family are cabbages, brussels sprouts, kale, broccoli, cauliflower and kohlrabi to name a few.  The members of the Solanaceae fmaily that we planted this week were peppers, tomatoes and eggplant.  With several varities of tomatoes and peppers to choose from and several different members of the Brassicaceae family everyone was excited to dig in and start planting but first up a little talk about the appropriate spacing for the plants.

Lead teacher Denise pointed out the importance of making sure that you have adequate spacing between your plants for a few reasons.  The first being that plants need enough space between them to ensure that they have adequate airflow, airflow is important because trapped moisture is a fugal diseases best friend. The second reason is that you want to make sure that your plants are not competing directly with each other for nutrients.

Diligently Planting Starts

Unfortunately, the Brassicaceae family is susceptible to a common pest know as the cutworm.  Cutworms are actually caterpillars, they are moth larva that hide under soil during the day and come out at night to feed.  The cutworm does its damage by eating away at the base of a plant stem and literally cutting it off and feeding on it briefly before heading on to the next plant.  This method of feeding is not only wasteful but can be utterly devastating to a garden.  Luckily there is an easy and ingenious way of protecting against these little buggers.  Cutworm collars!

An Example of a Cutworm Collar on one of our Brussels Sprout Seedling
An Example of a Cutworm Collar on one of our Brussels Sprout Seedlings

Cutworm collars can be made form several different materials we chose newspaper because it is biodegradable and when the plant is big enough to be less suitable to cutworms the paper will decompose into the soil.  The idea of the cutworm collar is to deny the insect assess to the plants stems, you do this by creating a barrier that is about an inch down into the soil and protrudes about an inch and a half, to two inches above the ground.  There are several materials that you can use to construct cutworm collars, some garden favorites are old paper towel tubes, or over sized smoothy straws with a slit cut in the side so that it fits around the plant.  Any of these methods are sufficient to protect against cutworms and the small amount of time it takes to apply the cutworm collars is well worth escaping the heartache of waking up to a decimated Brassicaceae crop.

Planting Planting Planting!

With all the new plants the gardens were really starting to come together.  Everyone remembered to water their starts in to end the evenings festivities and as we all said our goodbyes we looked forward to the gardening adventures next class would have in store.